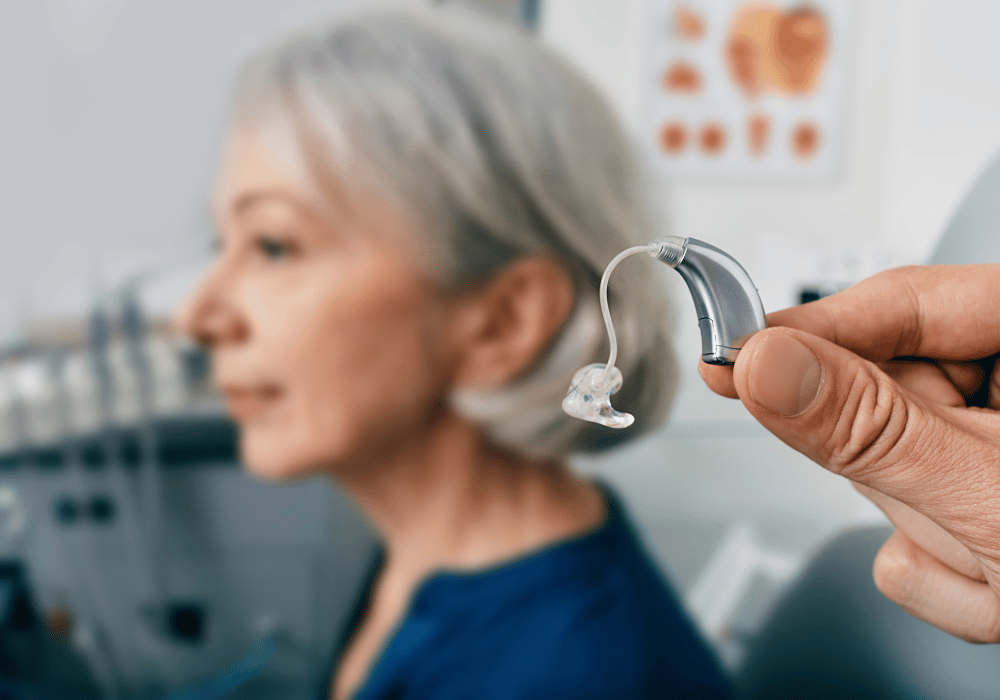
Hearing aids are more than just a device—they’re a gateway to clearer conversations, cherished sounds, and an improved quality of life. Whether you’re using them for the first time or have relied on them for years, proper cleaning and maintenance are crucial. Without regular care, hearing aids can lose their effectiveness or even stop working altogether.
This guide will walk you through daily and weekly cleaning practices, storage tips, and how to handle common troubleshooting issues. With these steps, you can ensure your hearing aids last longer and perform at their best.
 Why Maintenance Matters
Hearing aids operate in environments that can challenge their delicate technology—think sweat, earwax buildup, or even extreme temperatures. Proper maintenance doesn’t just extend the lifespan of your device; it also preserves sound quality, protects your investment, and minimizes costly repairs.
If you’ve been wondering how to create a reliable routine for your hearing aids, read on!
Daily Cleaning Practices
Make daily cleaning part of your routine to prevent damage from dirt, debris, and earwax. Here’s a step-by-step guide to keep your hearing aids in top shape every day.
1. Wipe Them Down
After removing your hearing aids for the day, use a dry, soft cloth to thoroughly wipe away any visible earwax or moisture from the surface. Avoid using water, alcohol, or cleaning solutions, as they can damage the electronics.
2. Inspect the Openings
Check key parts of the device, like the microphone ports, tubing, and receiver openings. Use a hearing aid cleaning brush (often included with your device) to gently remove any debris.
3. Keep Earwax Guards Clean
If your hearing aid features an earwax guard or filter, ensure it’s clean. Replace it regularly according to the manufacturer’s guidelines or whenever you notice a decline in sound quality.
Small steps like these can prevent wax and moisture from interfering with your device’s performance.
A Tip for Caregivers
If you’re assisting someone with their hearing aids, maintain a gentle hand, ensuring the device integrity isn’t compromised during cleaning.
Weekly Deep Cleaning
While daily care tackles surface dirt, weekly deep cleaning ensures the internal components of your hearing aids stay in excellent condition.
1. Disassemble Removable Parts
Start by carefully removing any detachable parts, such as earmolds, domes, or tubing. Be sure to consult your hearing aid’s user manual for specific instructions.
2. Use a Drying Kit
Invest in a hearing aid dehumidifier or drying kit. These devices remove trapped moisture, which is particularly useful if you live in humid environments or sweat often. Regular drying reduces the risk of corrosion in the electronic components.
3. Clean the Earmolds
If your hearing aids have earmolds, gently wipe them with a damp cloth. For a more thorough clean, soak them in warm, soapy water, but ensure they’re completely dry before reattaching them. Never soak the electronic components!
4. Check Batteries or Recharge
During your weekly routine, pay special attention to the power source. If your device uses disposable batteries, check for any signs of corrosion and replace them as needed. For rechargeable models, clean the charging ports with a soft cloth.
Consistent deep cleaning is key to maintaining reliable hearing aids that you can count on for clear, uninterrupted sound.
Storing Your Hearing Aids
Proper storage is often overlooked but plays a significant role in preventing accidental damage.
1. Turn Them Off
When you’re not wearing your hearing aids, turn them off to conserve battery life and prevent unnecessary wear on the internal components.
2. Use a Protective Case
Always store your hearing aids in the protective case they came with—or better yet, a dedicated hearing aid storage case. Keep the case away from extreme heat, direct sunlight, or humidity.
3. Keep Them Dry
If you wear your hearing aids in sweaty or rainy conditions, ensure they’re dry before storing them. Use a drying kit for this, as it’s more effective than air drying.
4. Avoid Pets and Kids
Accidents happen, but pets and small children can inadvertently damage hearing aids. Store them in a safe, out-of-reach location.
Travel-Friendly Tip
If you’re heading out for a vacation, pack your hearing aids in a hard-shell case for added protection, and don’t forget extra batteries or your charger!
Troubleshooting Common Issues
Even with regular maintenance, hearing aids may sometimes experience issues. Many problems are minor and can be resolved at home. Here’s how to address them.
 1. No Sound
- Check the Batteries: Ensure batteries are installed correctly or fully charged.
- Inspect Tubing: For behind-the-ear models, debris in the tubing may block sound. Clean or replace as necessary.
- Replace Wax Guards: Build-up in the earwax guard could block the sound. Replace it as per the device instructions.
2. Distorted or Faint Sound
- Clean the Microphone: Gently remove dirt or wax from the microphone’s port using a cleaning tool.
- Check the Volume: Ensure the device settings haven’t been accidentally changed. Reset if needed.
3. Feedback or Whistling
- Adjust Fit: Ensure the hearing aid is securely placed in your ear canal. Gaps can create feedback.
- Inspect Tubing: Cracks or wear in the tubing could also cause feedback. Replace as required.
If issues persist, don’t hesitate to contact your hearing specialist. Addressing problems early can prevent long-term damage and frustration.
Maintaining and cleaning your hearing aids isn’t just about extending their lifespan—it’s about preserving your connection to the sounds that matter most. With well-maintained devices, you’ll enjoy consistent sound quality, fewer costly repairs, and improved overall hearing health.
For personalized tips or troubleshooting, consult your hearing care professional. They can provide you with device-specific advice and help ensure your hearing aids stay in excellent condition. By committing to proper care, you’ll get the most out of your hearing aids and maintain their performance for years to come.